
I was tasked with creating a puzzle piece that meets the required constraints, to better familiarize myself with manufacturing processes. Those being 3D printing with FDM and Resin, CNC Milling, along with Resin casting. The easy part was the file setup, it got tricky when it came to painting them.
The Beginning
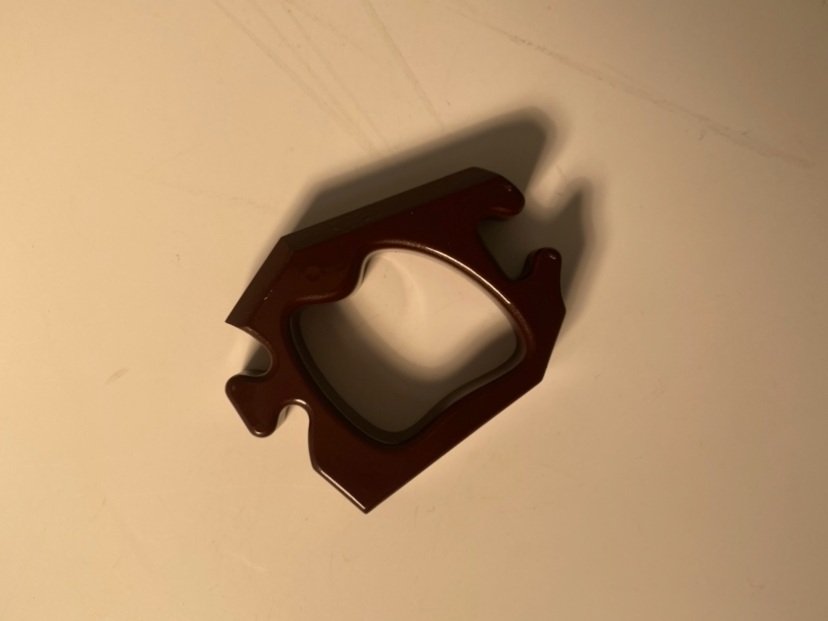
After many refinements to this piece, to make it easier to sand and paint during post process, this is the final model. With the constraints in mind, I designed it to be as complex as I could while keeping it simple enough to understand. Keeping in mind that primer and paint will add onto the connections, I inset the connections to allow room for the excess material.

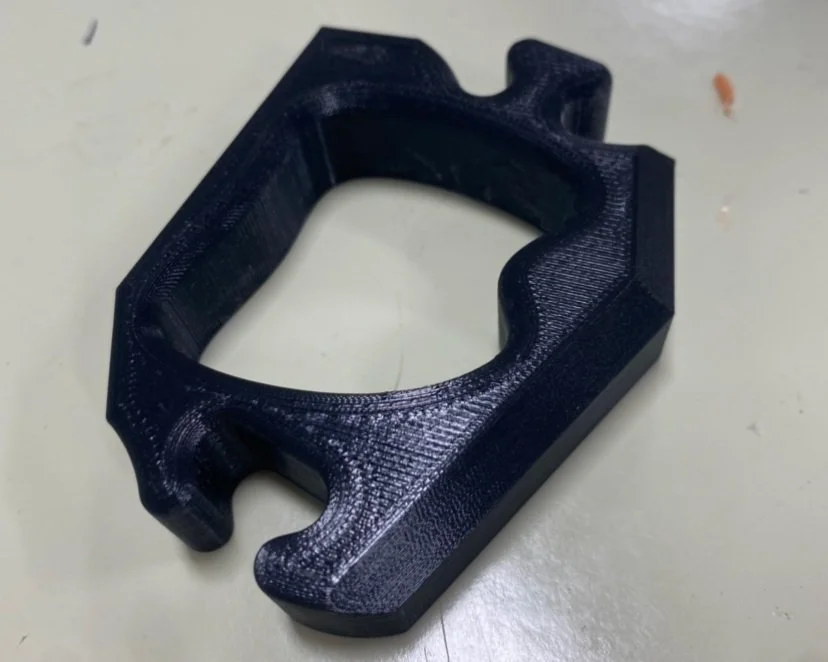
3D Filament Based Print
This part was specifically challenging during the painting process. It took quite a bit of sanding to get the layer lines away and achieve a smooth surface. Even with all that sanding there was still markings, but with a bit of filler, it softened out.
3D Resin Based Print
After my file was setup properly in the STL format for printing, it was printed and I got a nice looking part. I put a fair amount of sanding and filling, and then out of no where it cracked open due to the conditions and it not curing fully. Eventually I got a few more copies and they held together well, except for one that continues to weep out liquid. The primed piece came out so good I used it as my mold part.


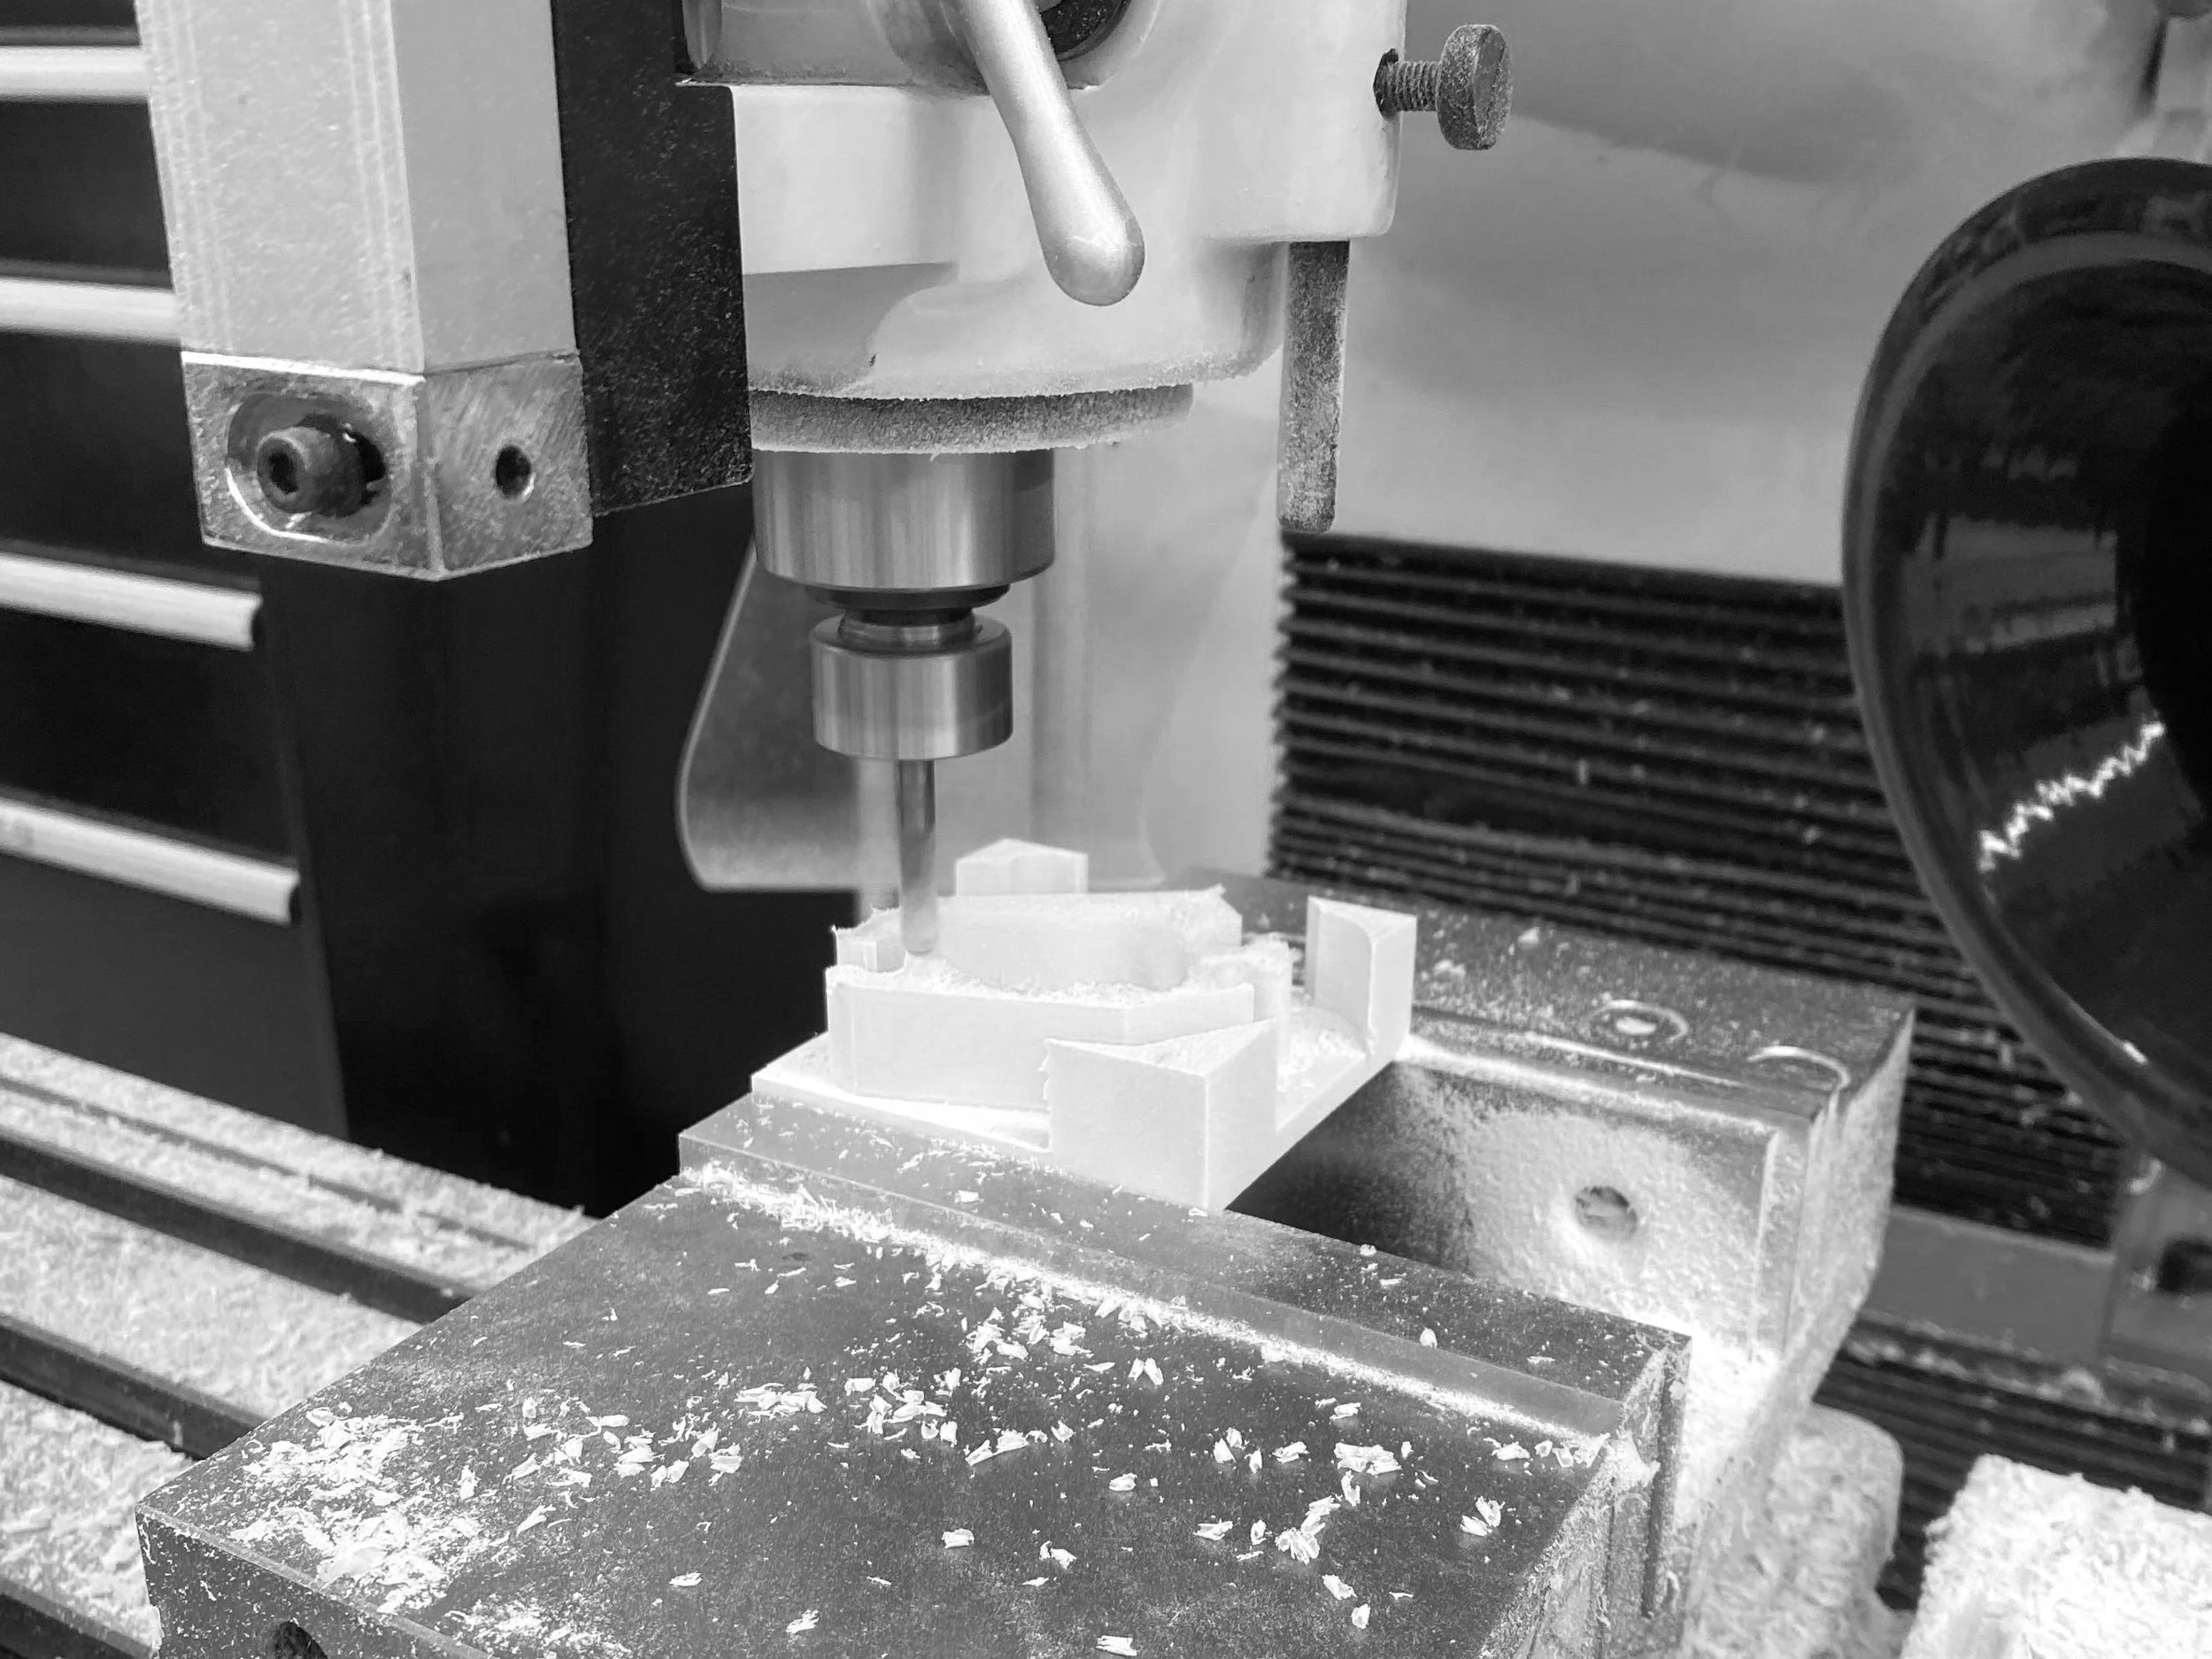
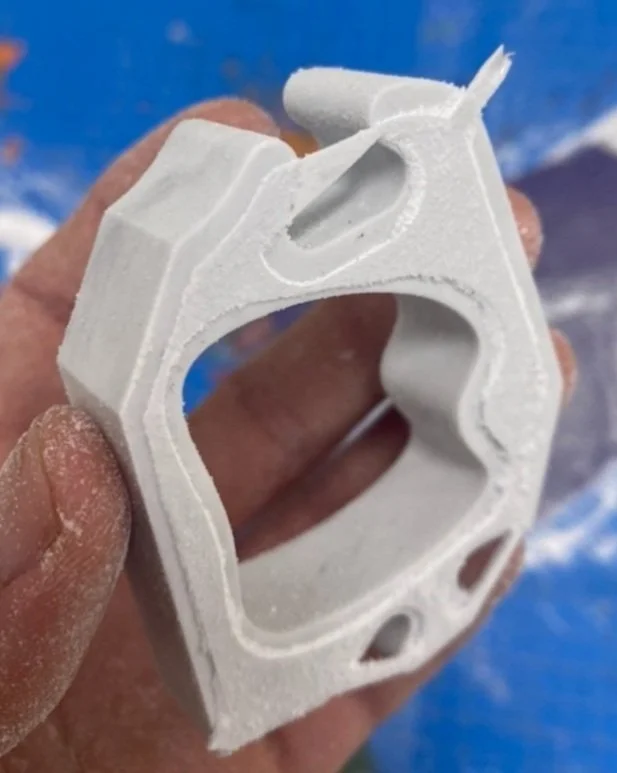
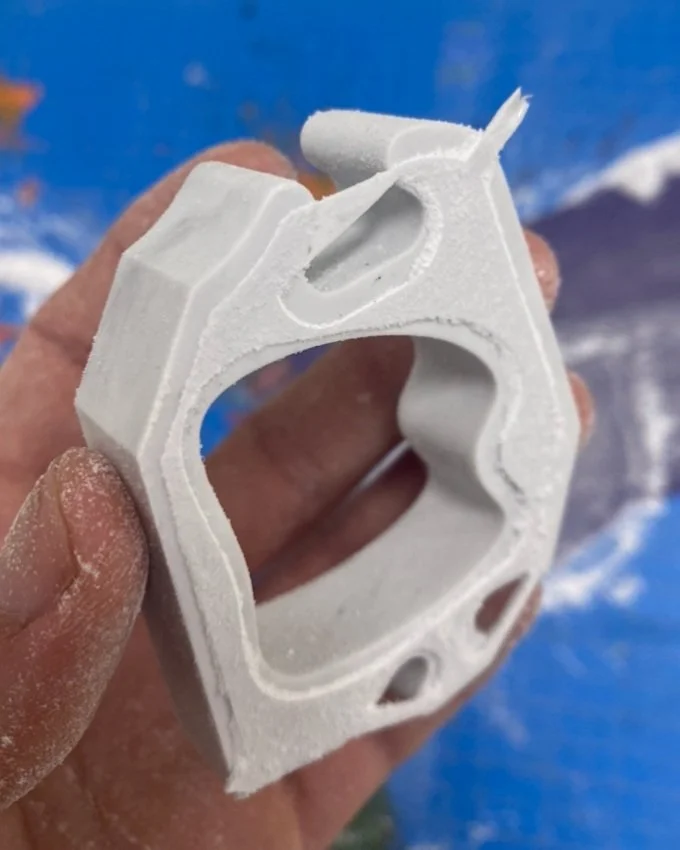
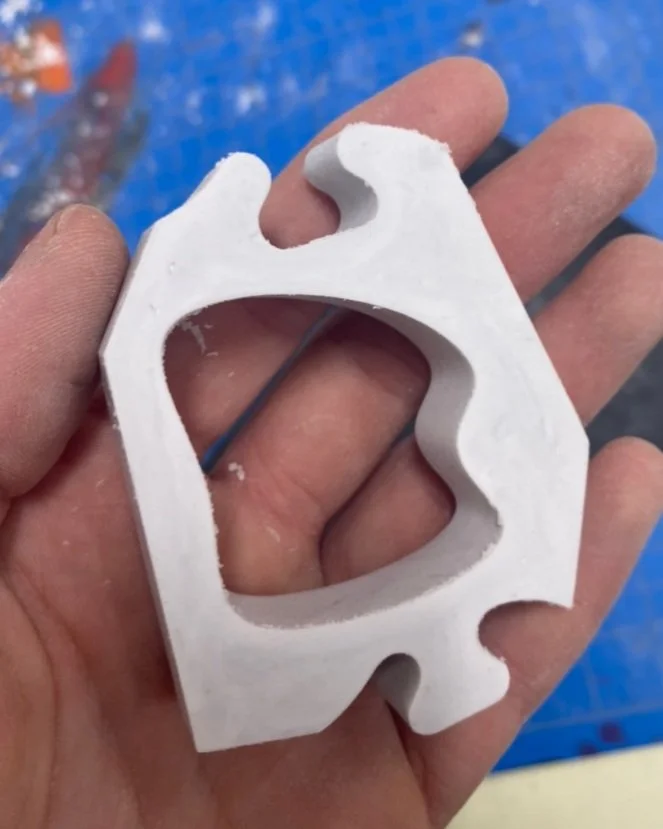
CNC Milled Part
I brought the original part to CAM to get it ready for the CNC. Once the file was setup in solid works CAM, with all the tool paths setup and ready to be sent to the CNC, it went somewhat smoothly. My piece ended up being too tall for the parallels in the vice. So I had to take out the part and raise it up and re-zero. When finishing, I had to take the excess off with the bandsaw, then sandpaper. The pores in the foam caused some issues when painting.


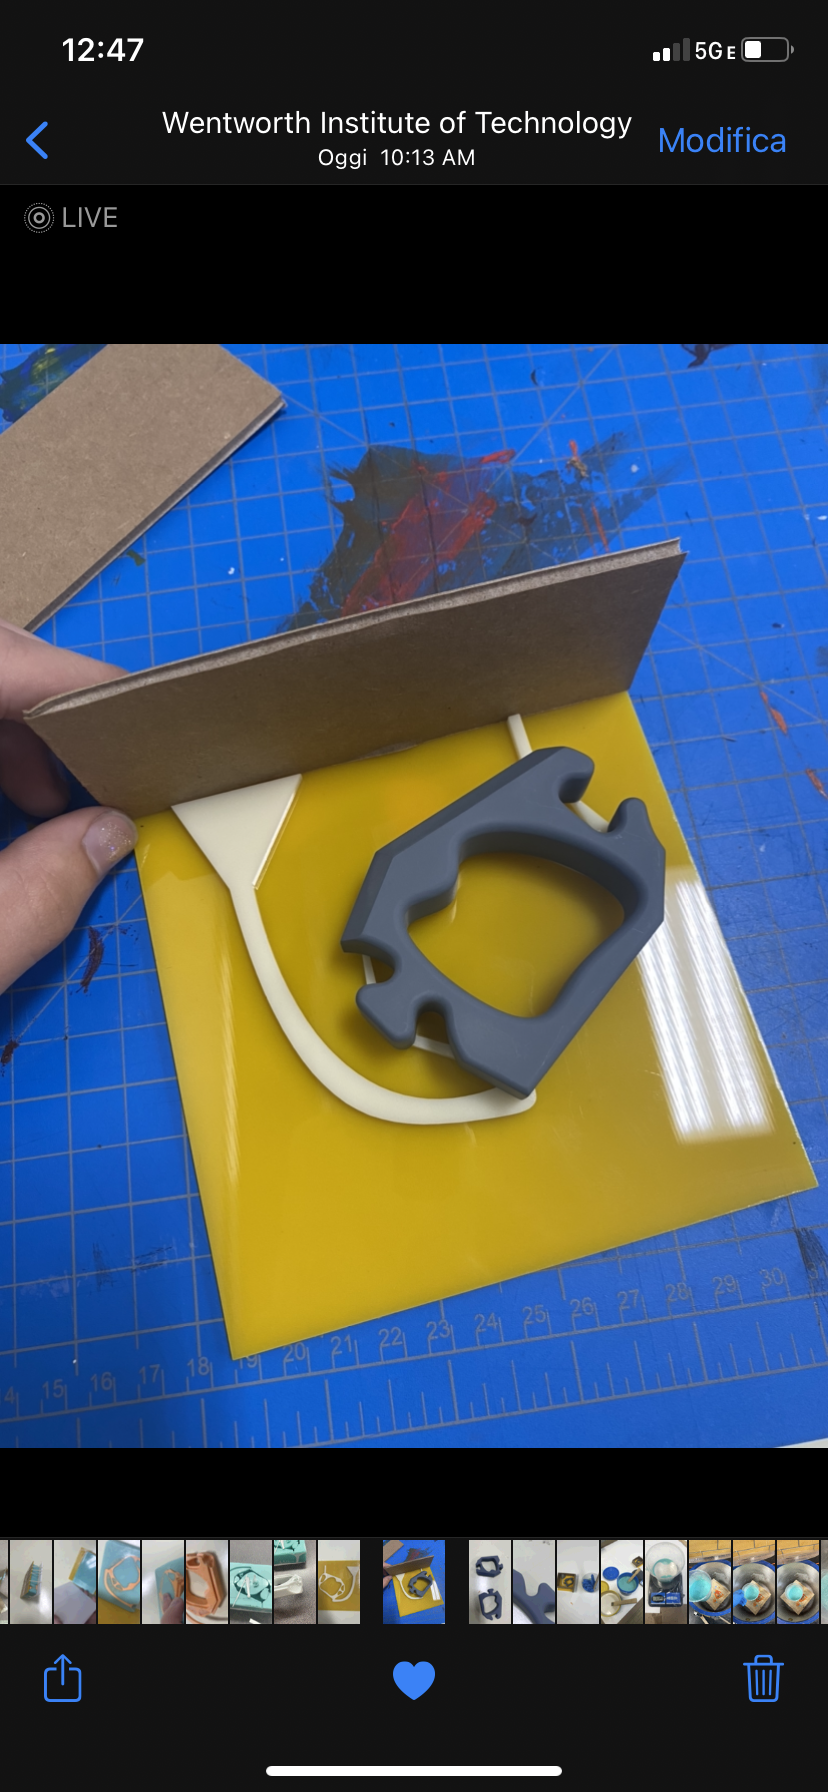
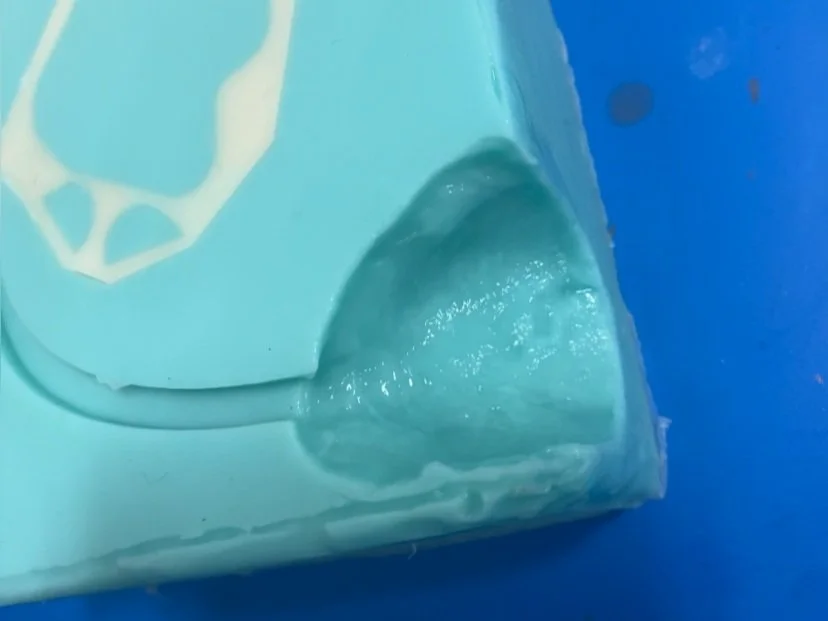
Resin casted part
This method of production was the most hands on and required the most effort and time. Starting with laser cutting a gate to help the casting process. Unfortunately I didn’t make my mold correctly, as the air spout was not tall enough in comparison to the part which resulted in not enough material getting to the end when placed in the pressure pot. After re-doing my mold, I used the wrong kind of clay for the spout, which acted as a cure inhibitor, but that wasn’t the important part of the mold so I poured anyways. The casting came out great.


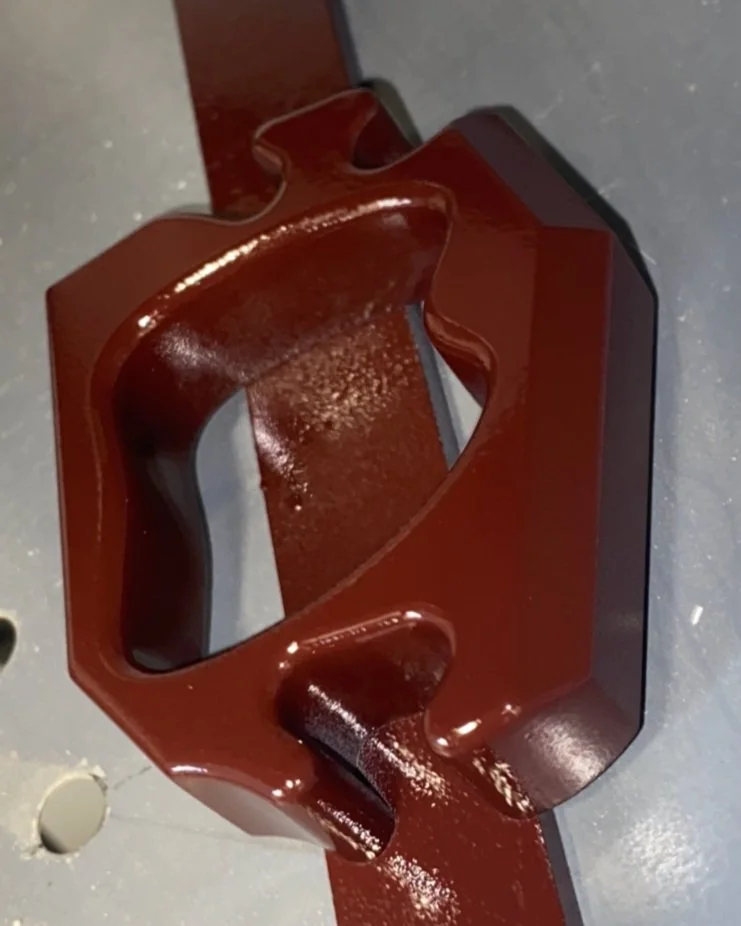
Post-Processing
I started with sanding all the raw parts up to 400 grit, then after many applications of primer and filler they were ready for final paint. While in the process, there were many primer coats that did not go well. Many bubbled up or got into the crevasses, in the long run that help me figure where to fill. I did about three coats of final paint due to mishaps while applying, but sanded it back down to keep myself dimensionally accurate.

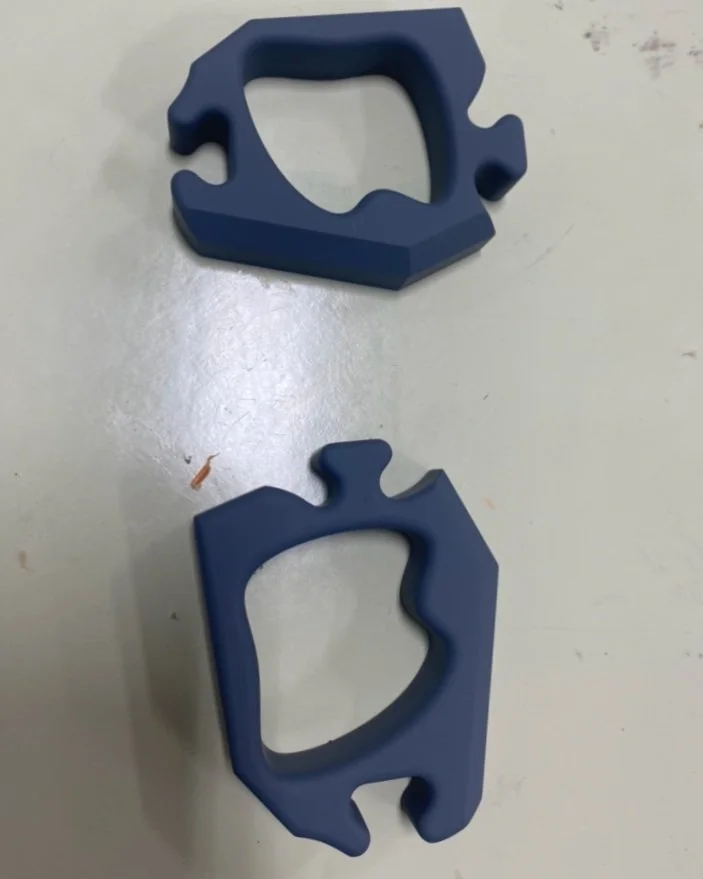

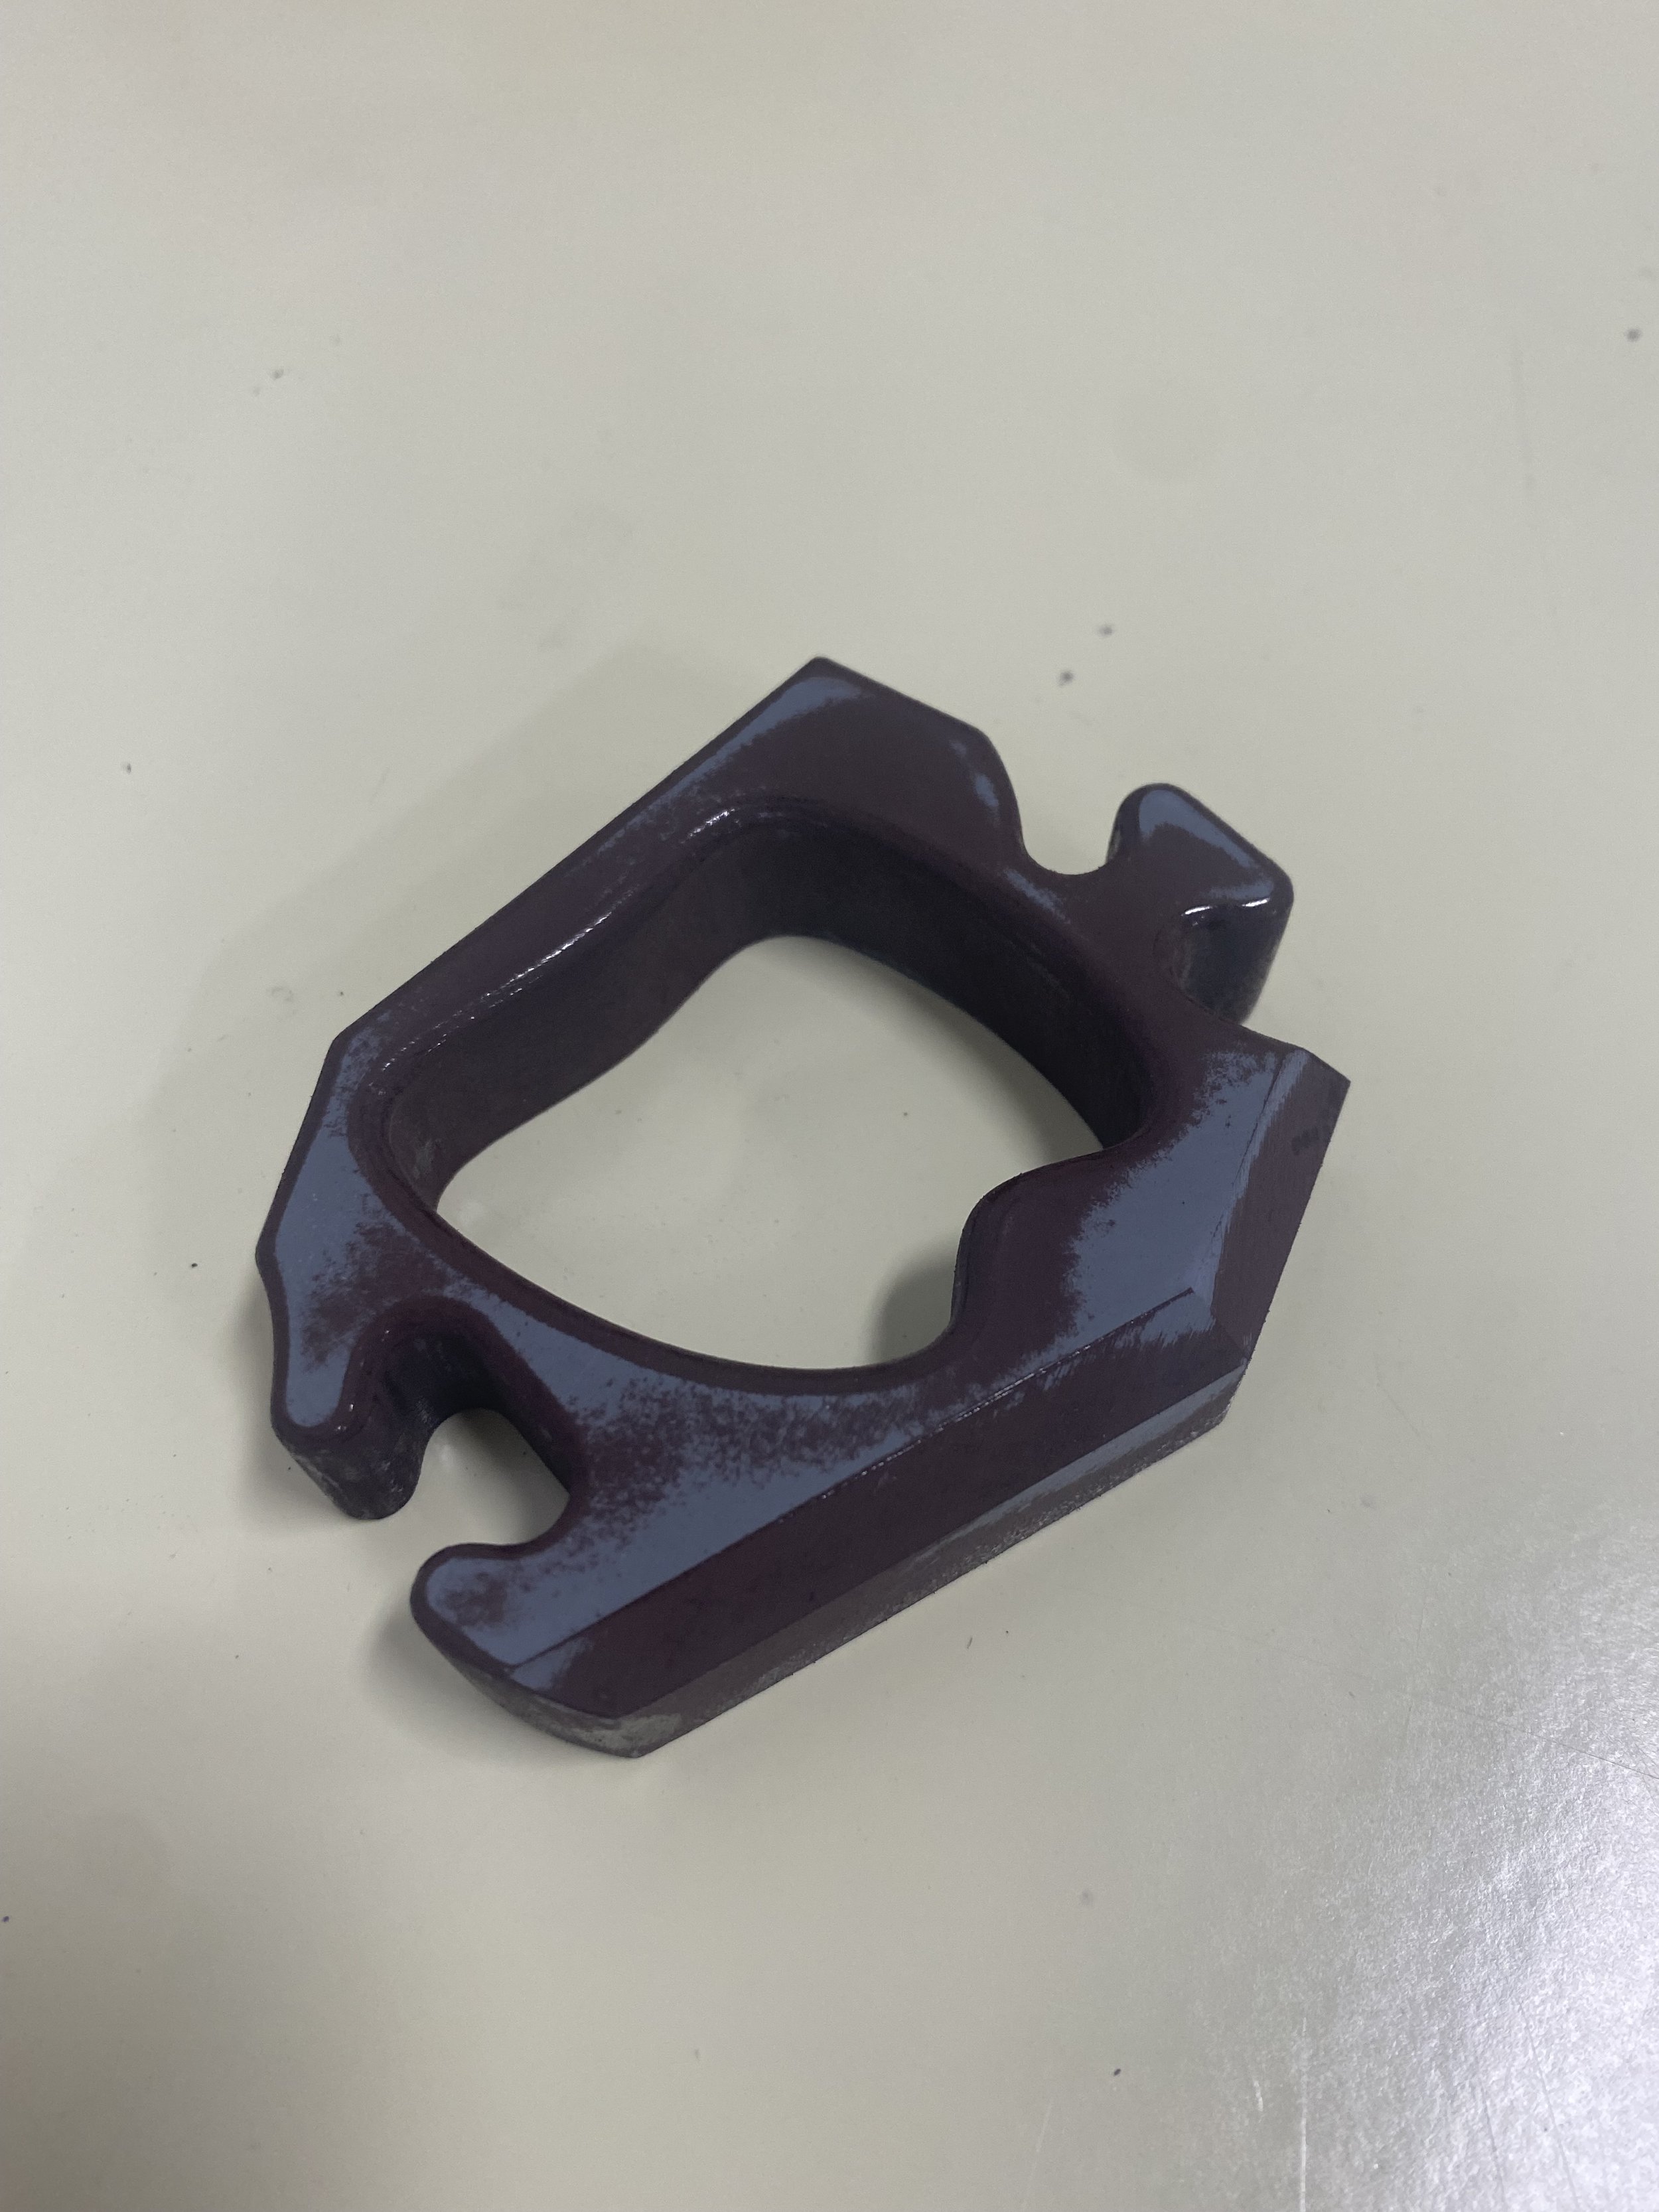

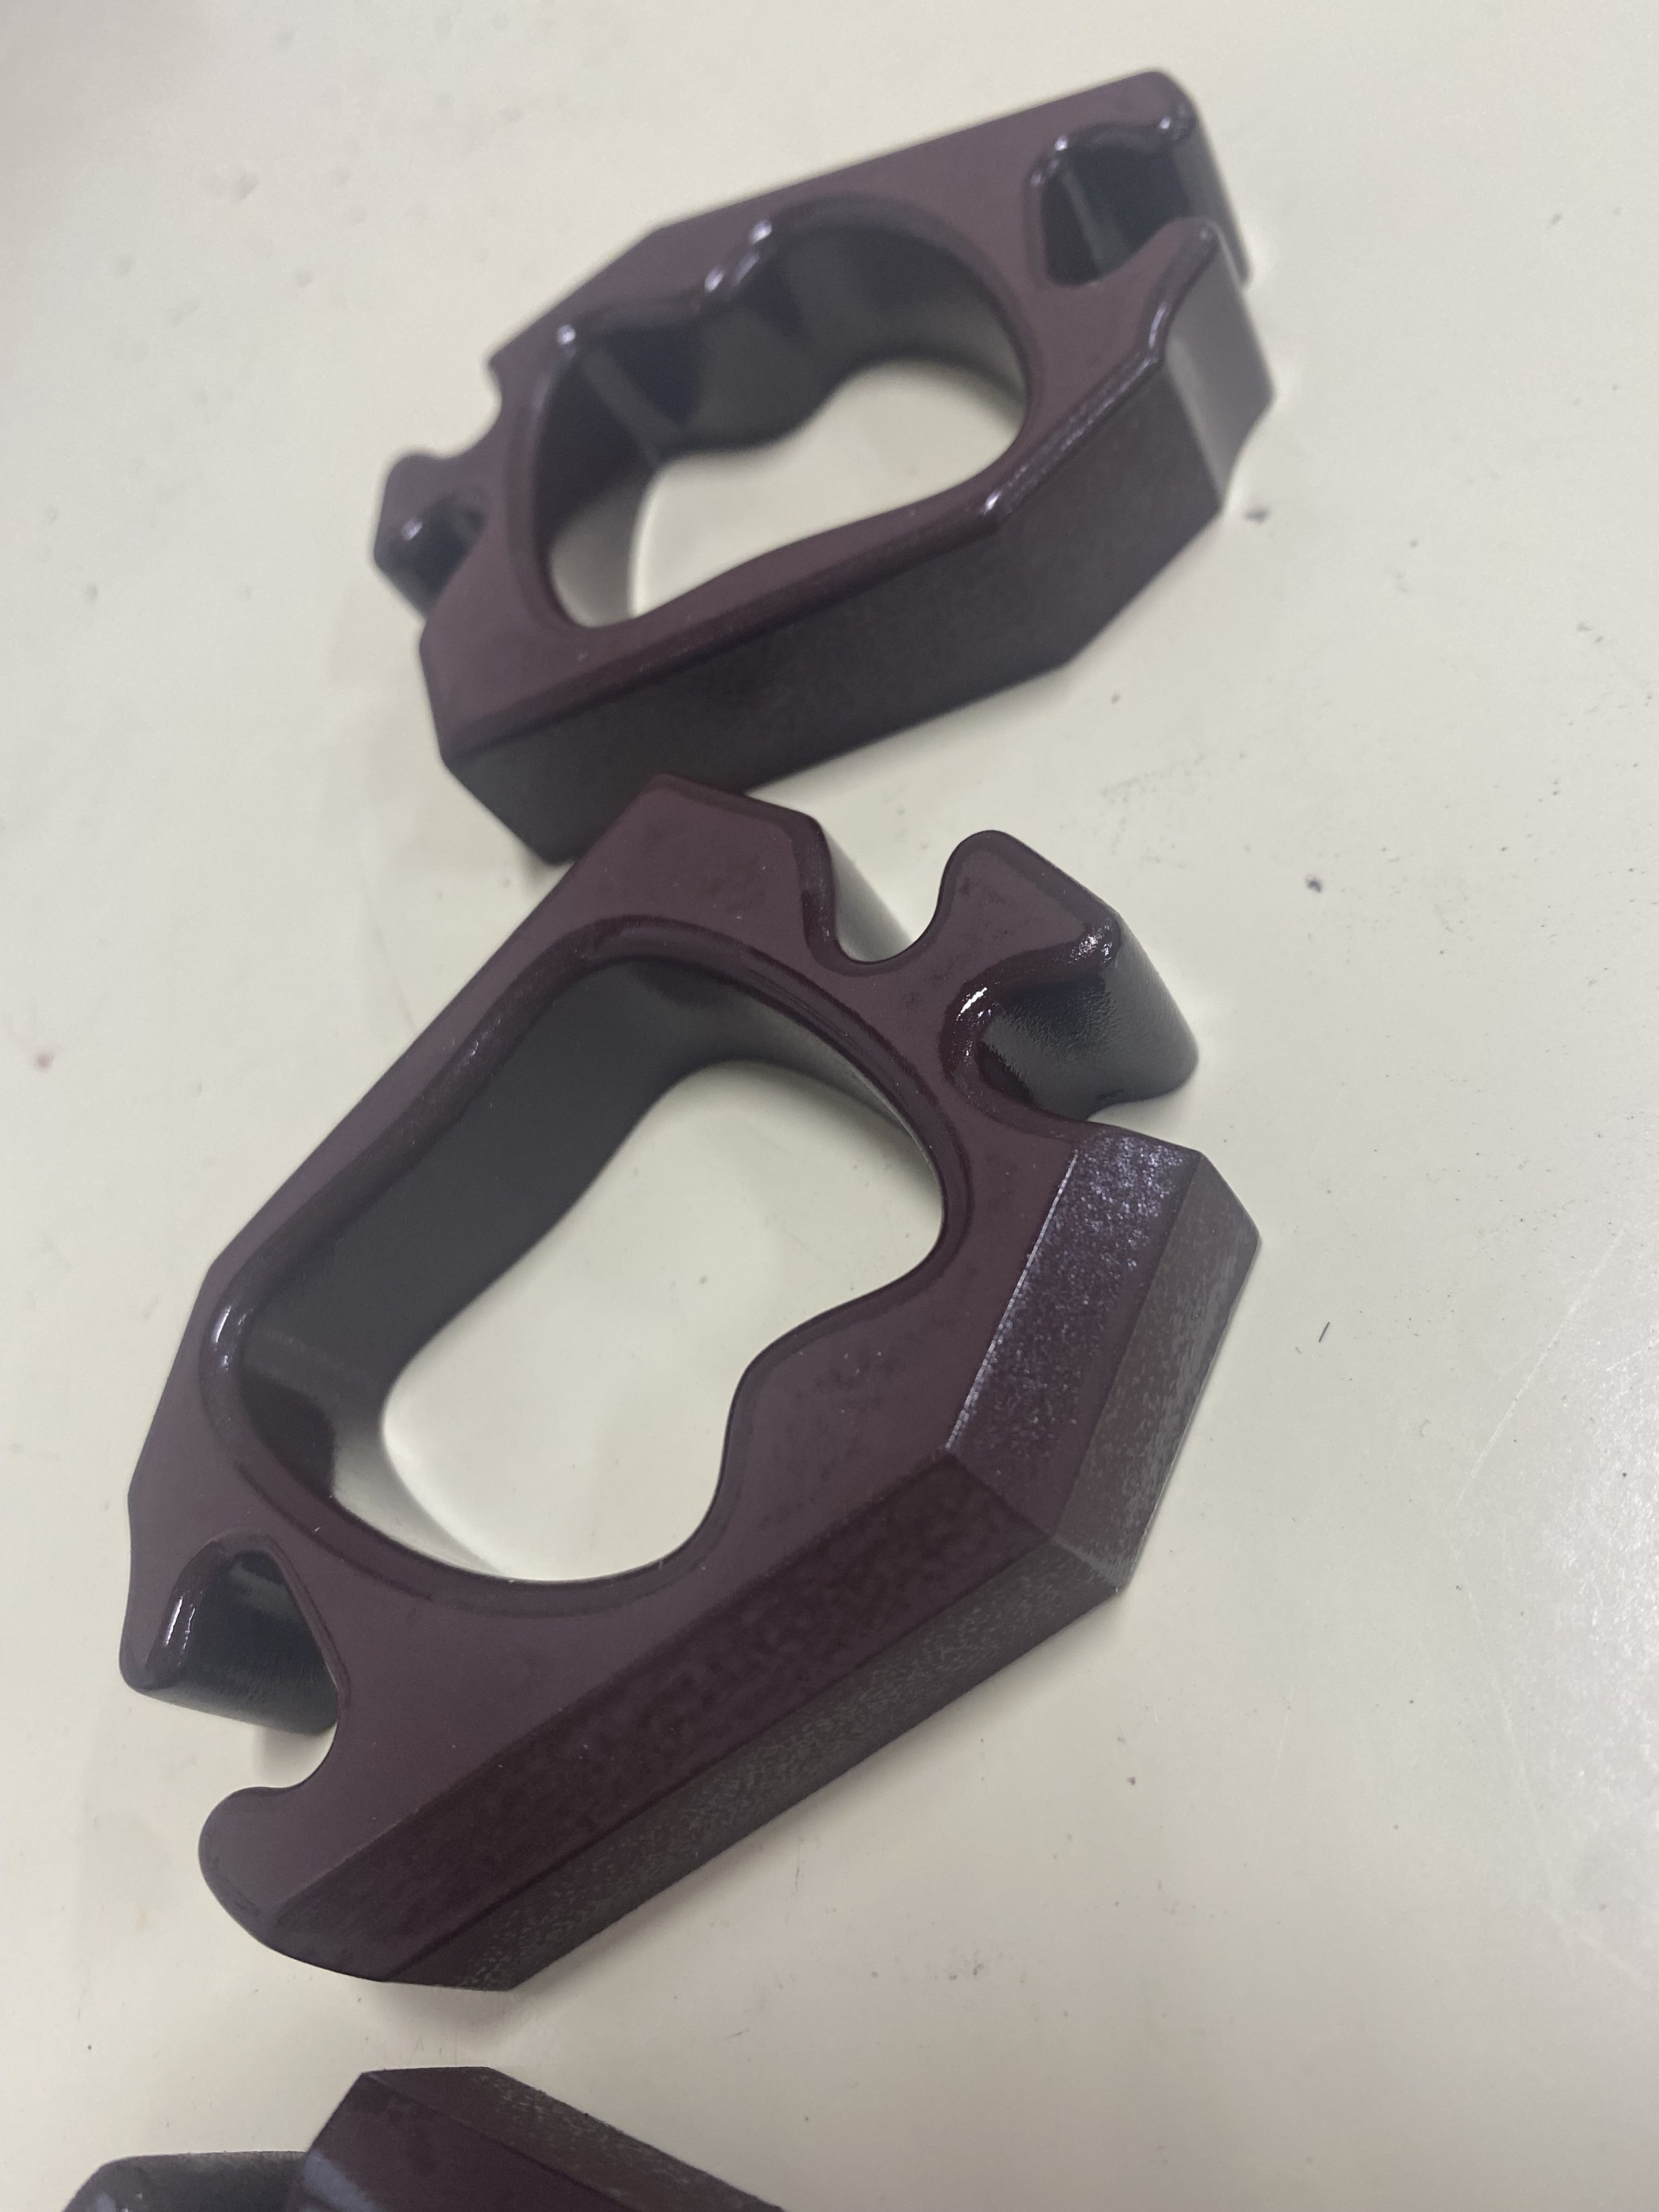

Finals
After many applications of primer and filler, and a few rounds of final paint the puzzle pieces were completed. All of the pieces fit together smoothly. This project was a great learning experience to familiarize myself with the manufacturing processes, as well as attention to detail and making sure they are as clean as they can be. Below we see all the parts, starting on the left, the cast part then the FDM print, CNC milled part and far right as resin printed.